My time is limited on this mission, but I'm quite certain that I can have it done before MGC....
So here we go!
First off, the parts needed...For the genesis part, I happen to have a Radica sitting around for use, so that's no problem. But, in order to make this thing sweet, I needed a cart slot to add to it. Enter my extra Sega Genesis that was collecting dust....

Now before anyone screams...ZOMG WHY IS HE USING A RADICA WHEN THERE'S PERFECTLY GOOD ORIGINAL HARDWARE TO PORTABLIZE!?
Take a look at this...

For those who don't know, the VA0 genesis 2 board is among THE WORST Genesis board types. It has the worst audio and video encoders on it, which results in a very crappy picture, and distorted sound. This is why it was collecting dust, and this is why the cart slot is more useful on a radica than on the main hardware lol.

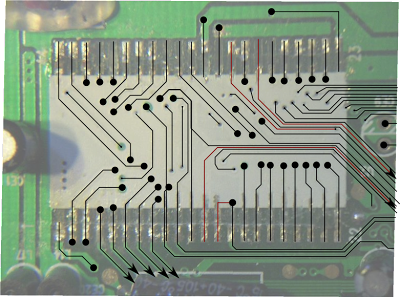
The board put up quite a fight tho. I guess the peeps a Sega really didn't want that cart slot to fall out of there...as it was not only bolted to the board and had all the pins thoroughly soldered in place, but on top of that...it was RIVETED in too!

After the battle, I finally got it out of there....ready for the next phase of the operation....
Next update: Rom Chip removal & Plug tweaking...
EDIT: I should mention...that I plan on updating this DAILY. Let's see just how many days it takes to make this happen