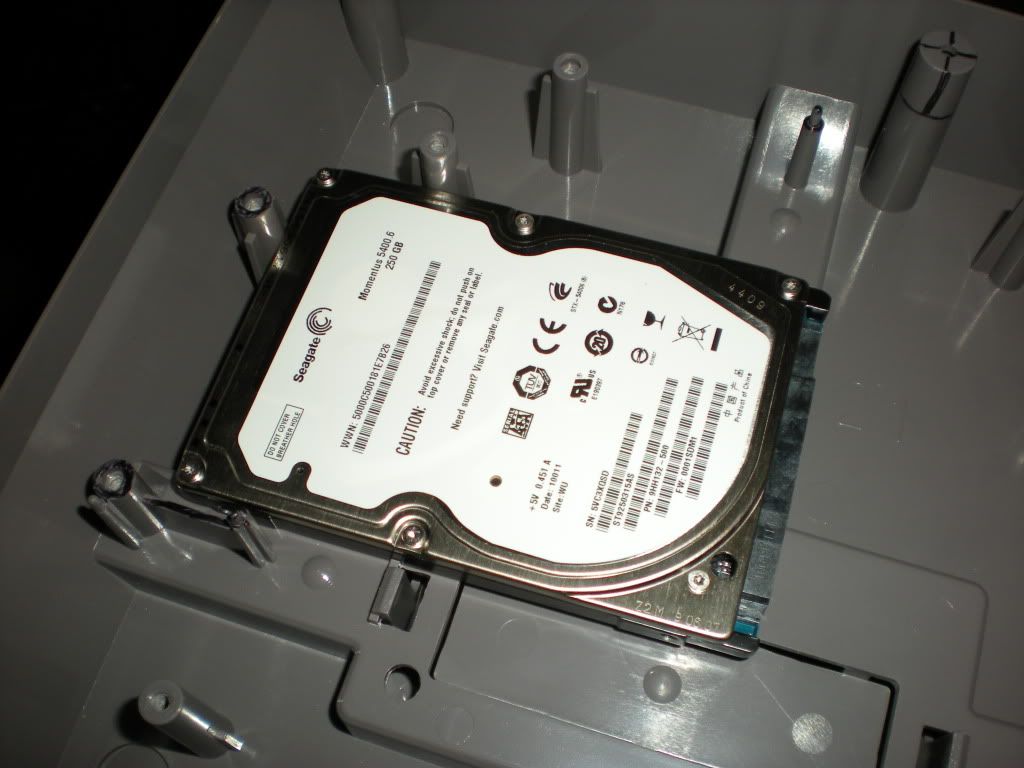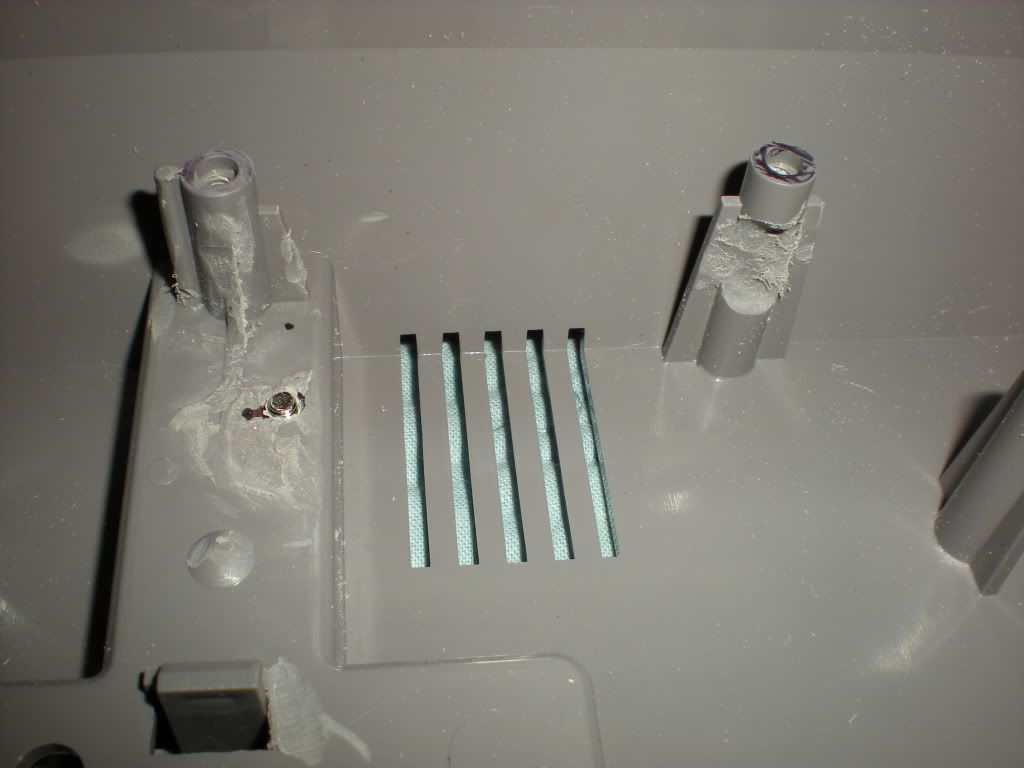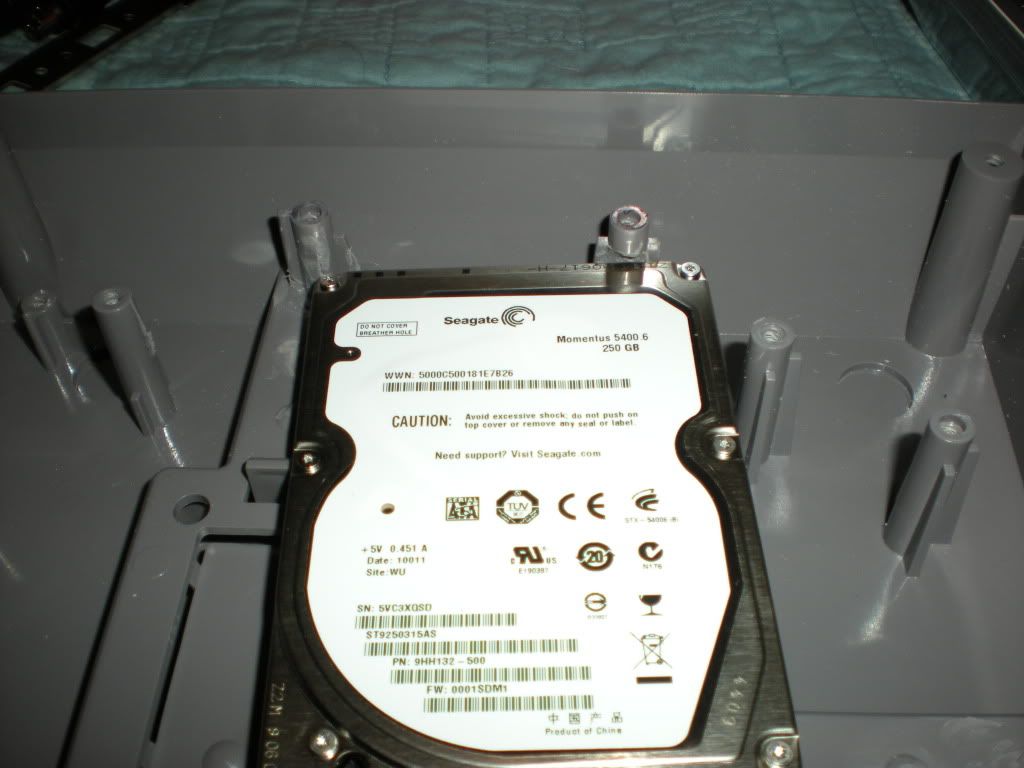
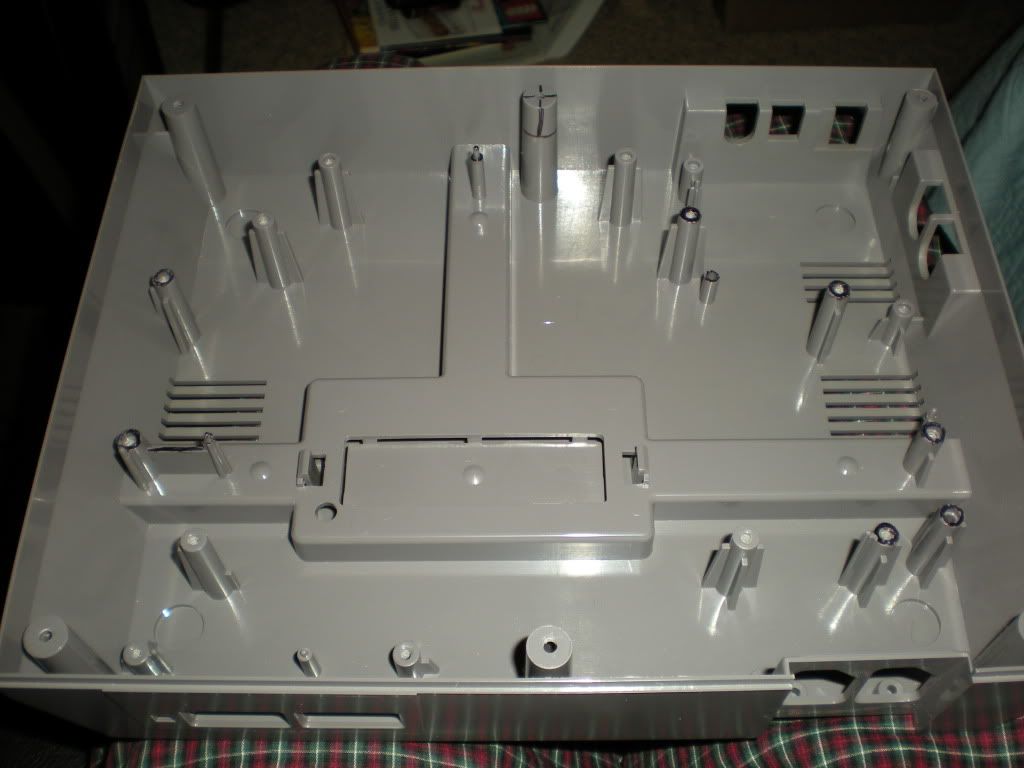
Marking some parts to be dremeled out, but not the final product, as I left 2 marked posts for a HDD mounting area.
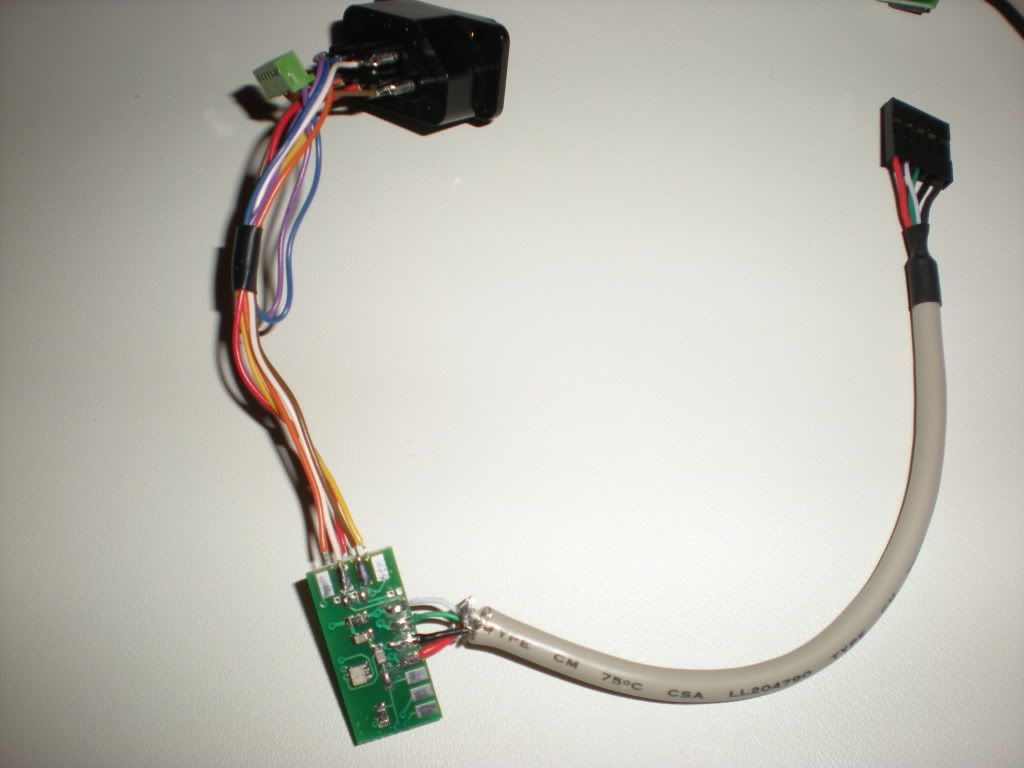
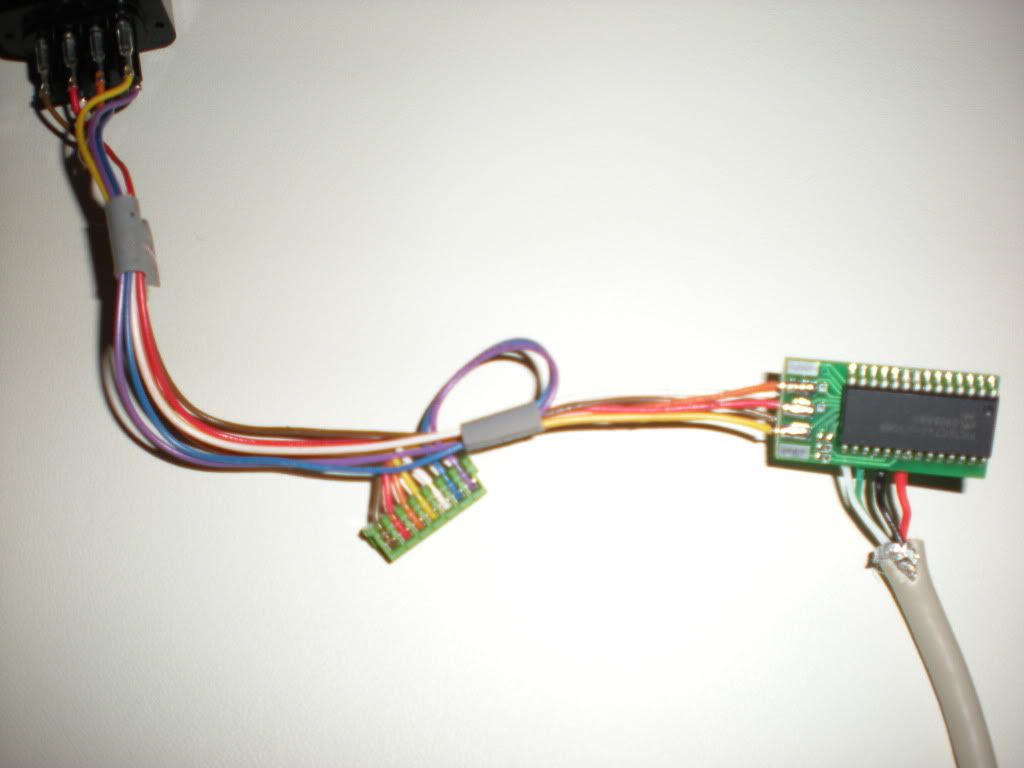
I wired up the controller ports to the Retrozone NES to USB chips, and along with a USB header cable.
Notice the 2 wires left alone, purple and the blue, as Retrozone chips are not compatible with light guns or power glove.
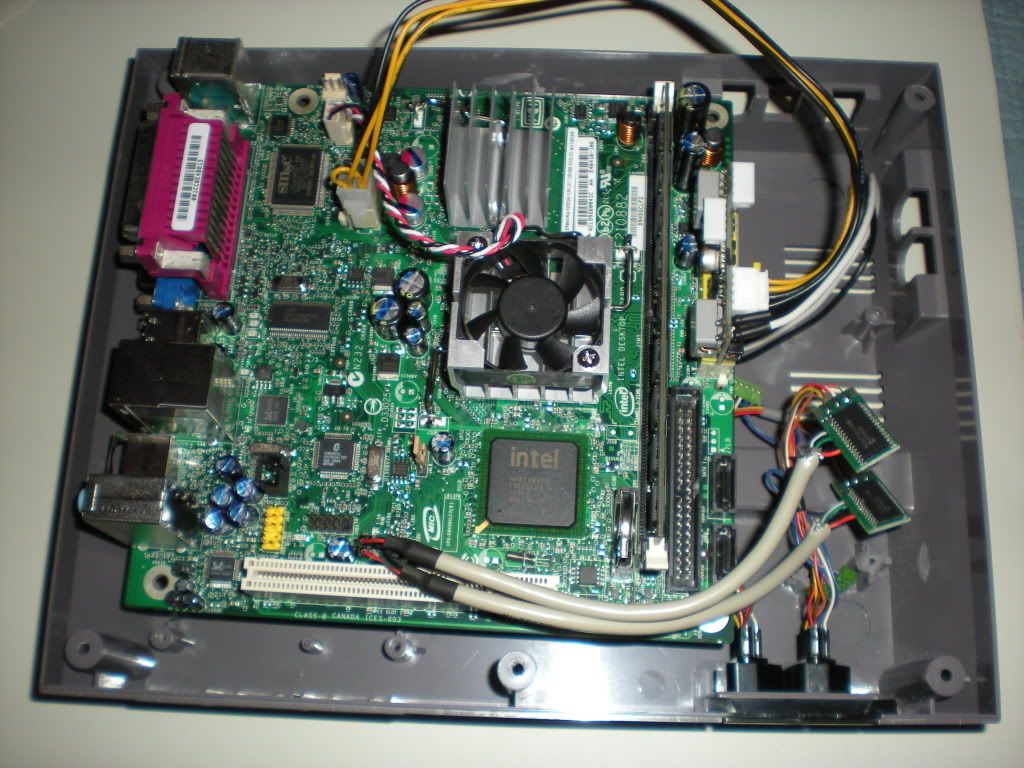
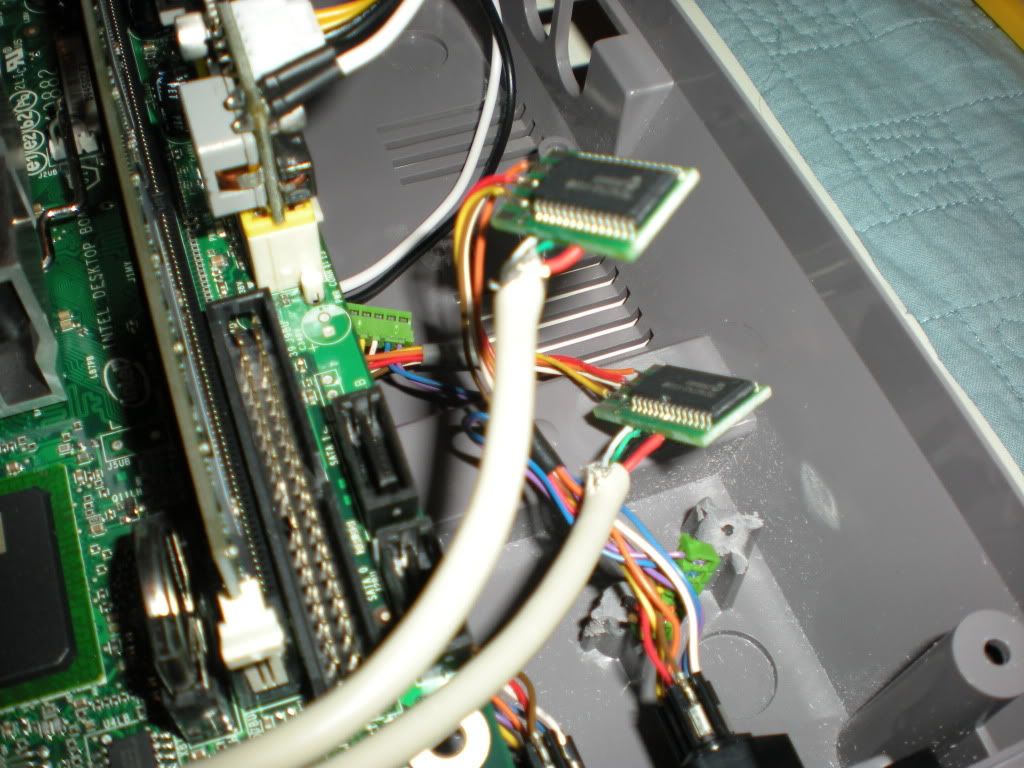
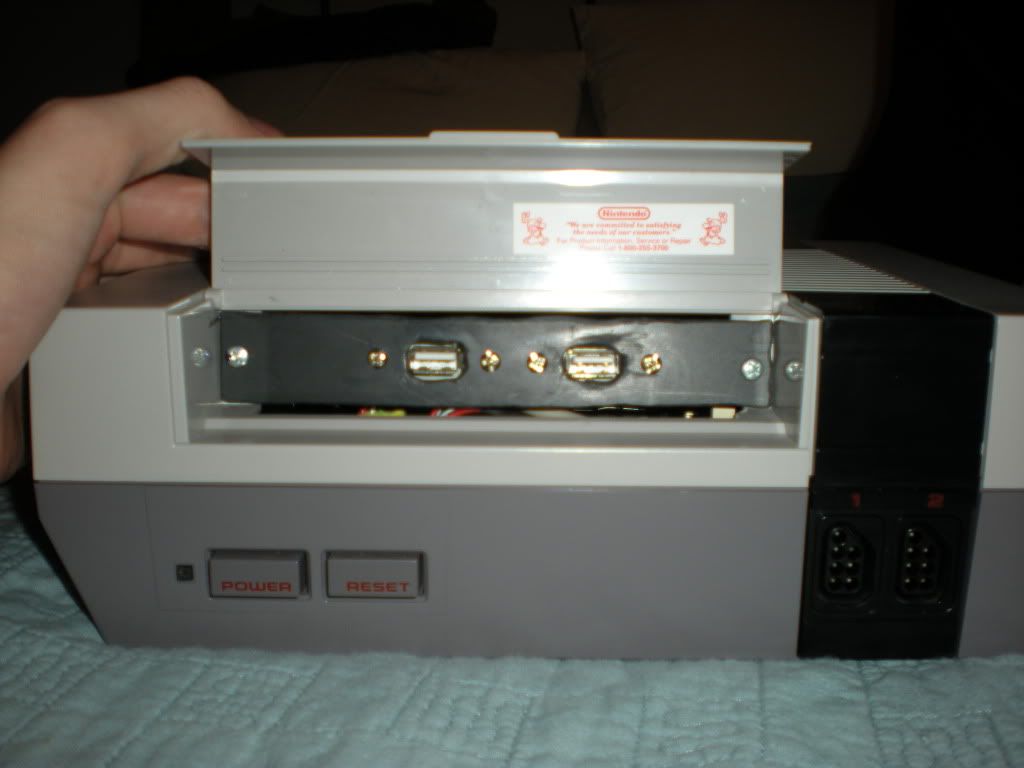
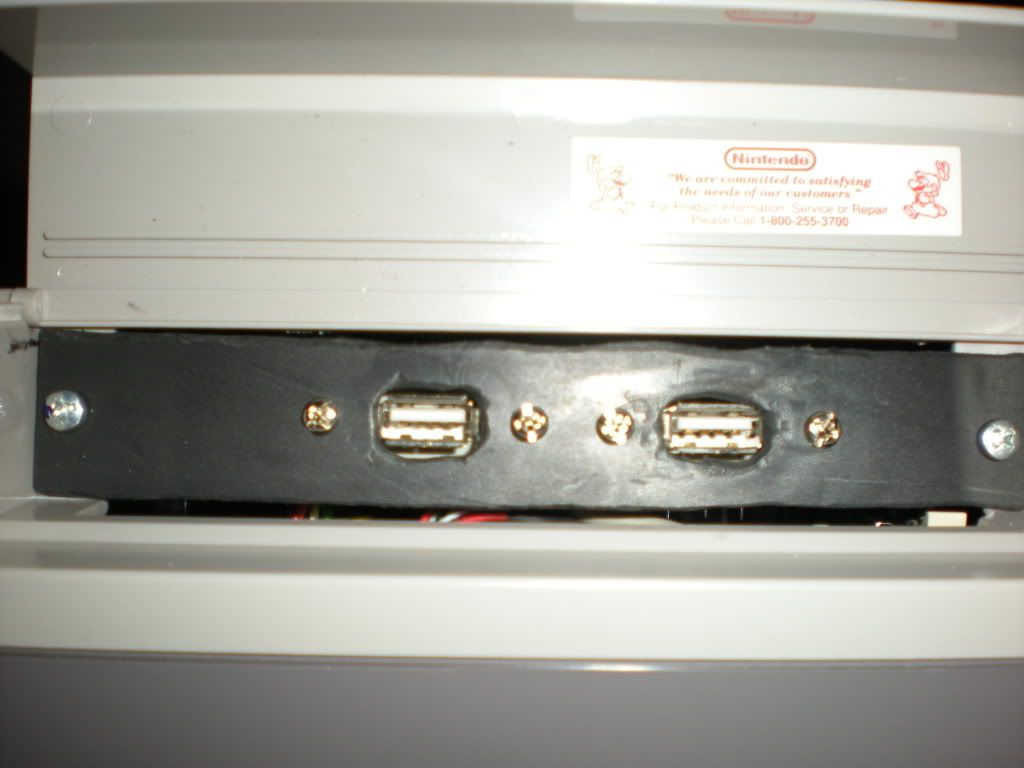
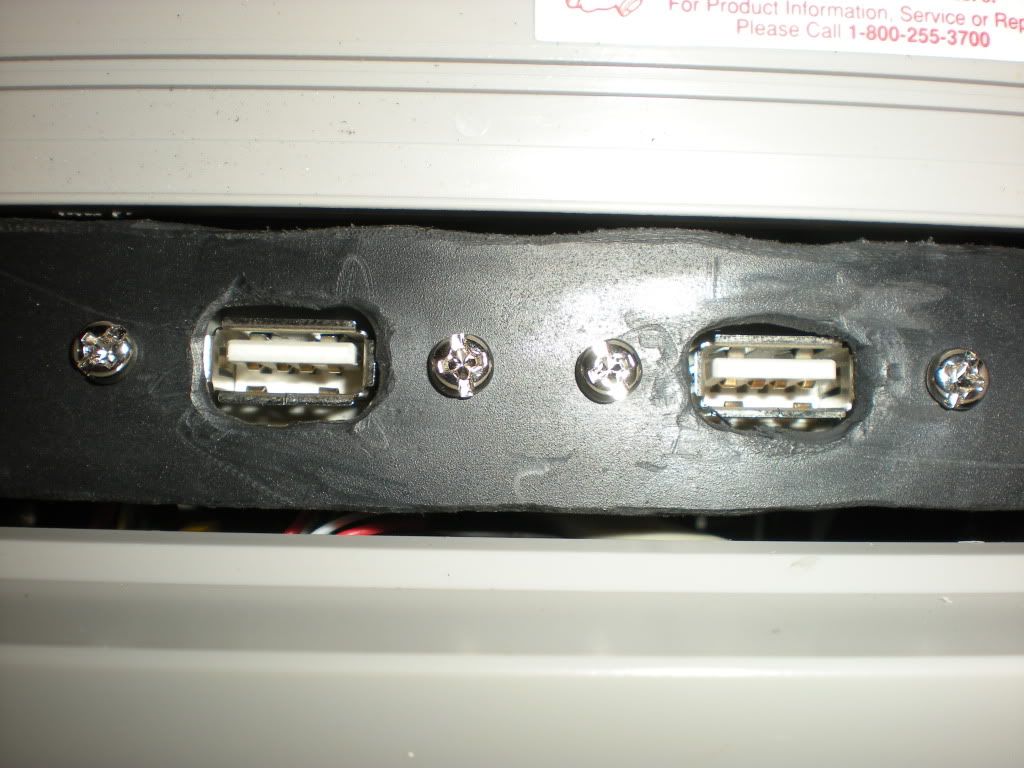
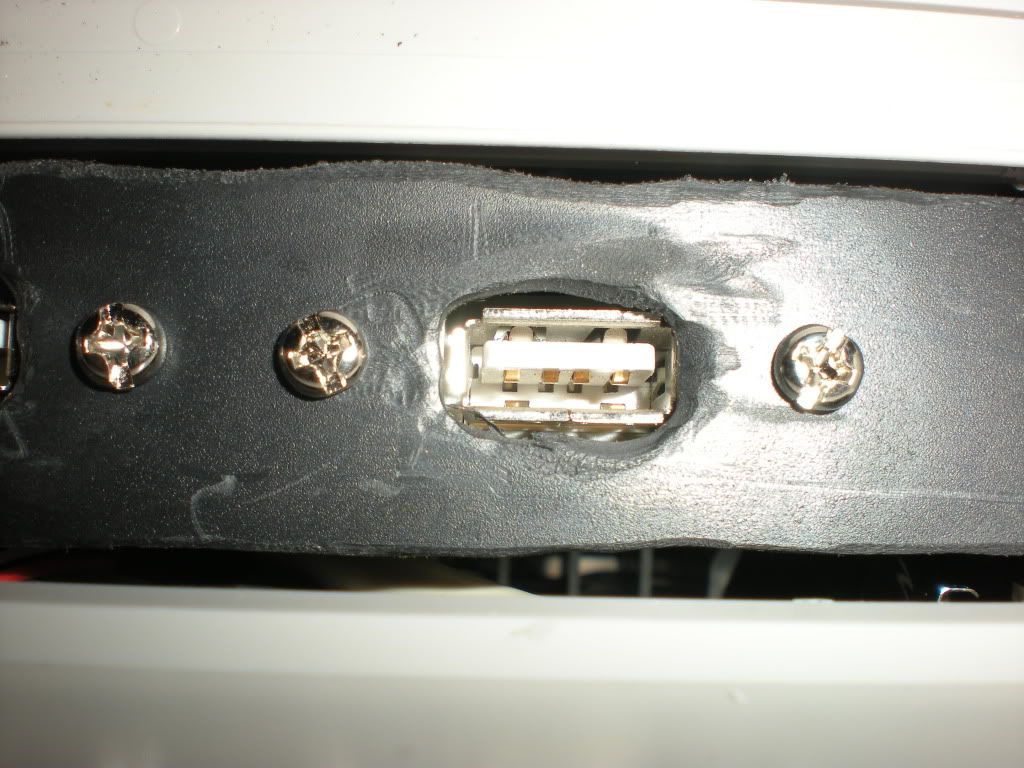
Tested the fit and controller ports. Works nicely. Might be a boot issue with the USB headers switching from player 1 to 2, but I could of wired them in reverse multiple times.
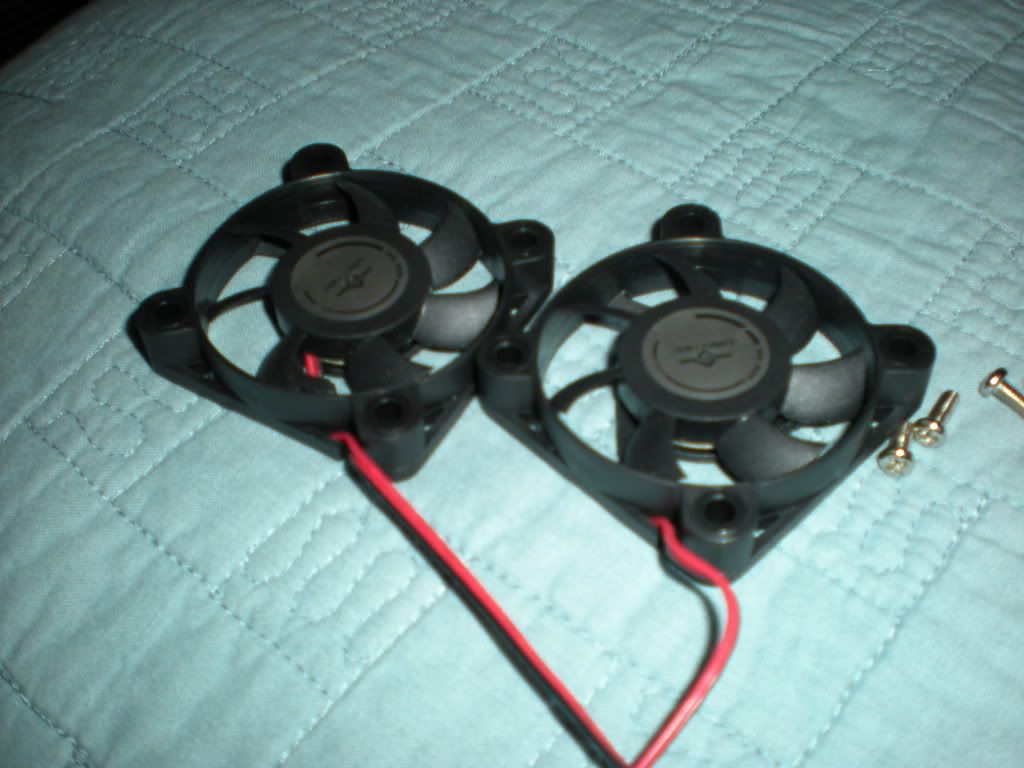
Had some issues with the case cover, the last or back fan was terribly close to the PSU, might of made clicking noise if I left it....or jammed the fan. So I trimmed off more of the screw posts to drop the PC mobo down some on the right side. Progression pictures......and the fans I borrowed from a HDD cooling bracket....very slim and nice fans.
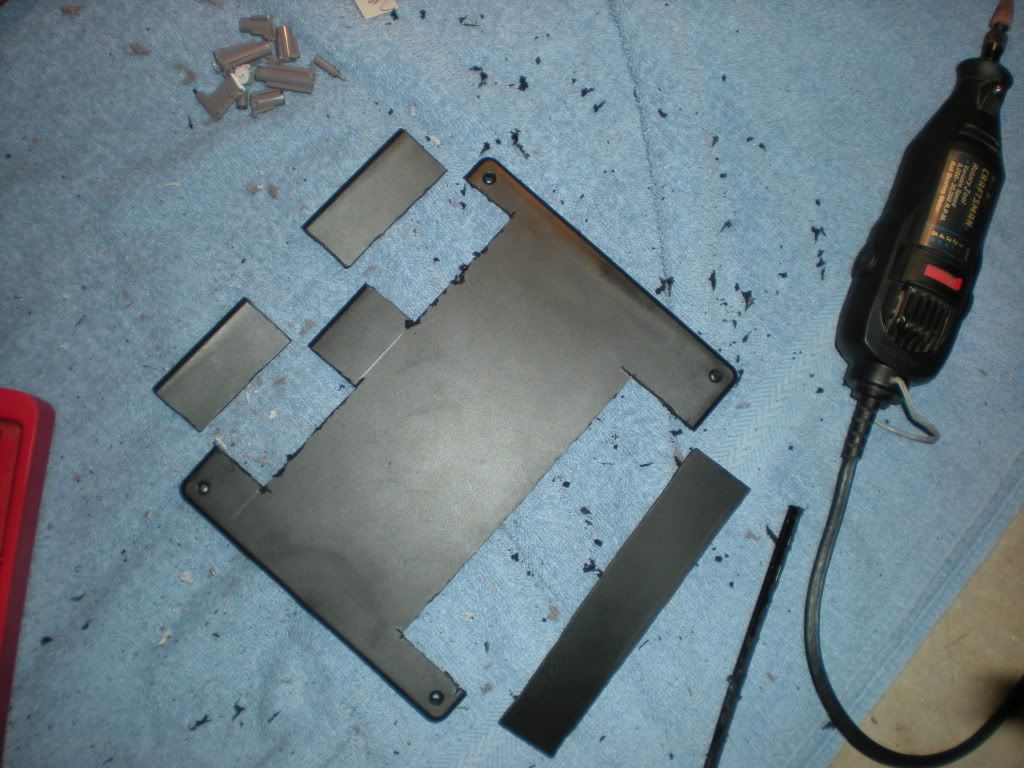
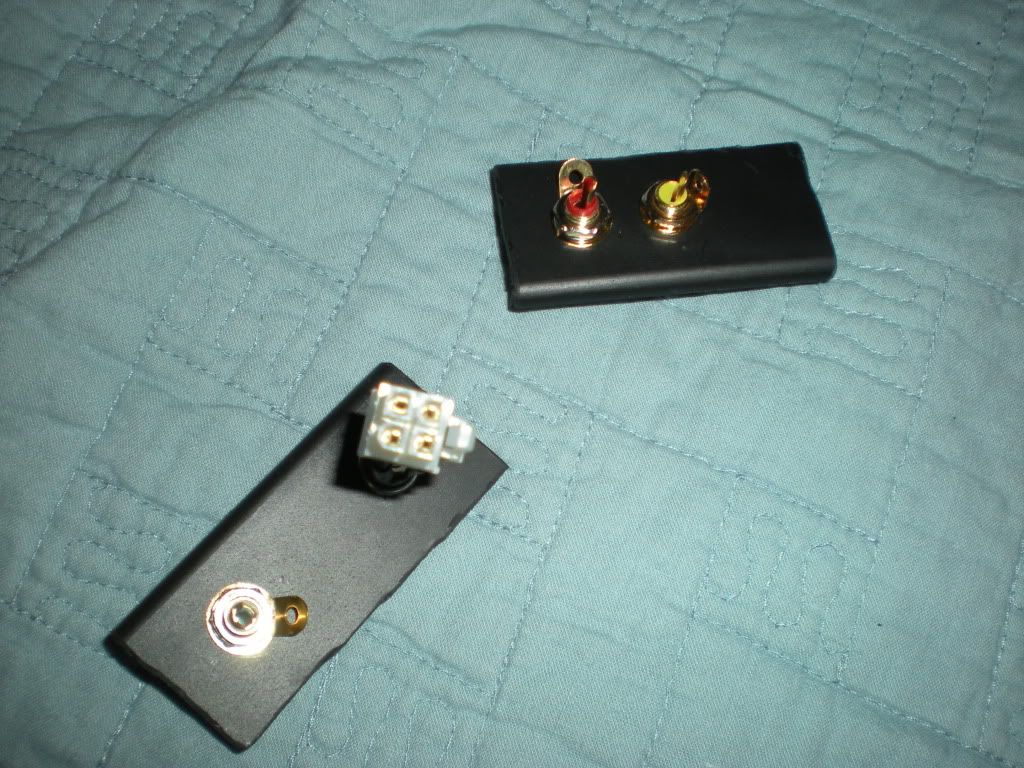
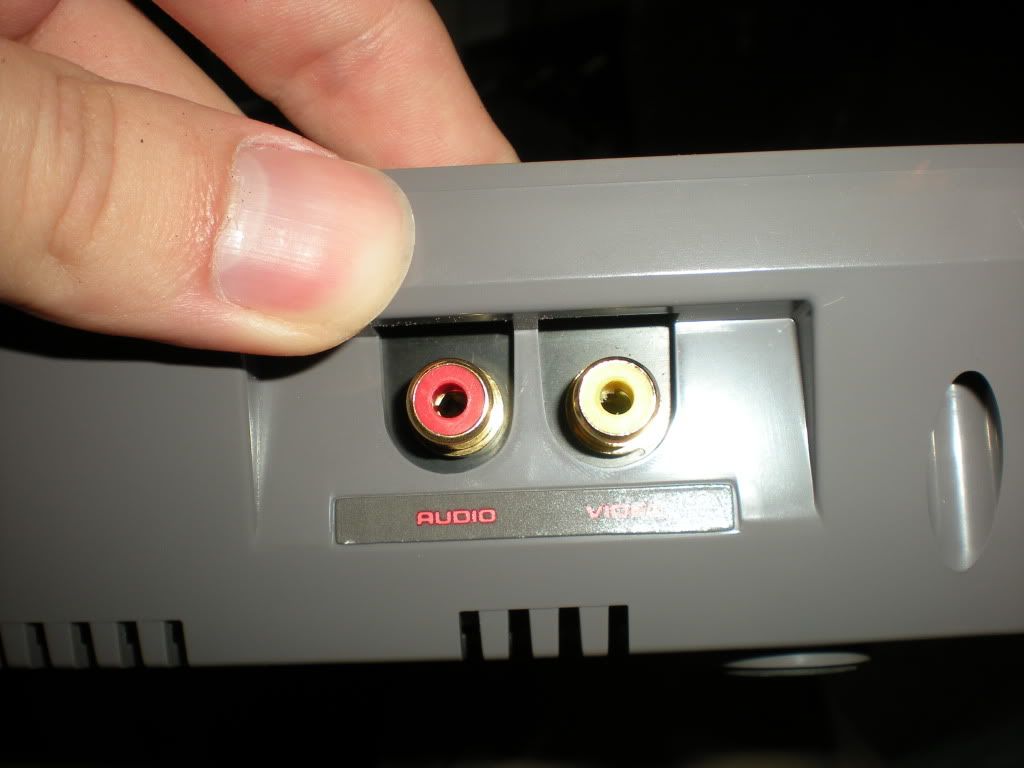
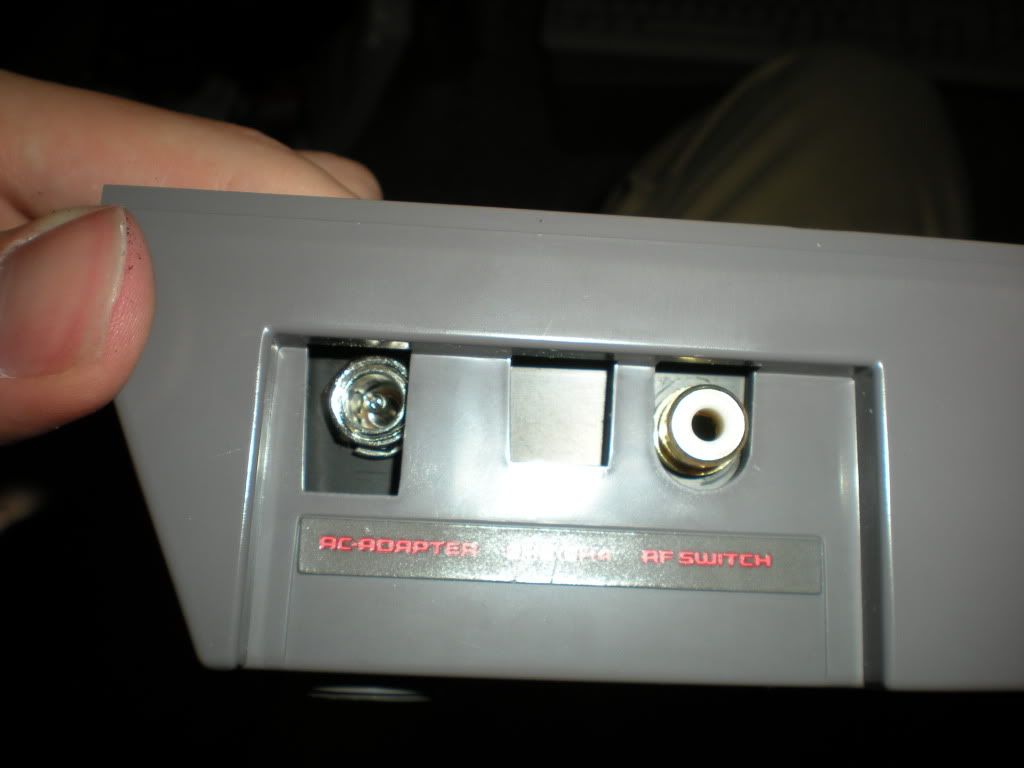
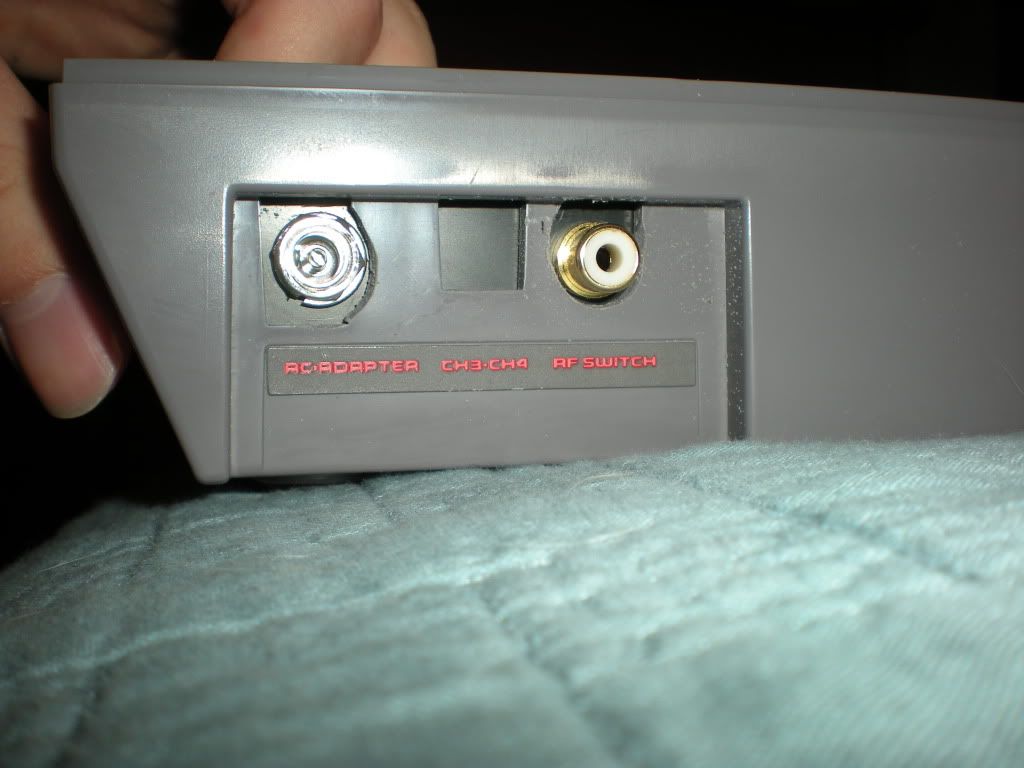
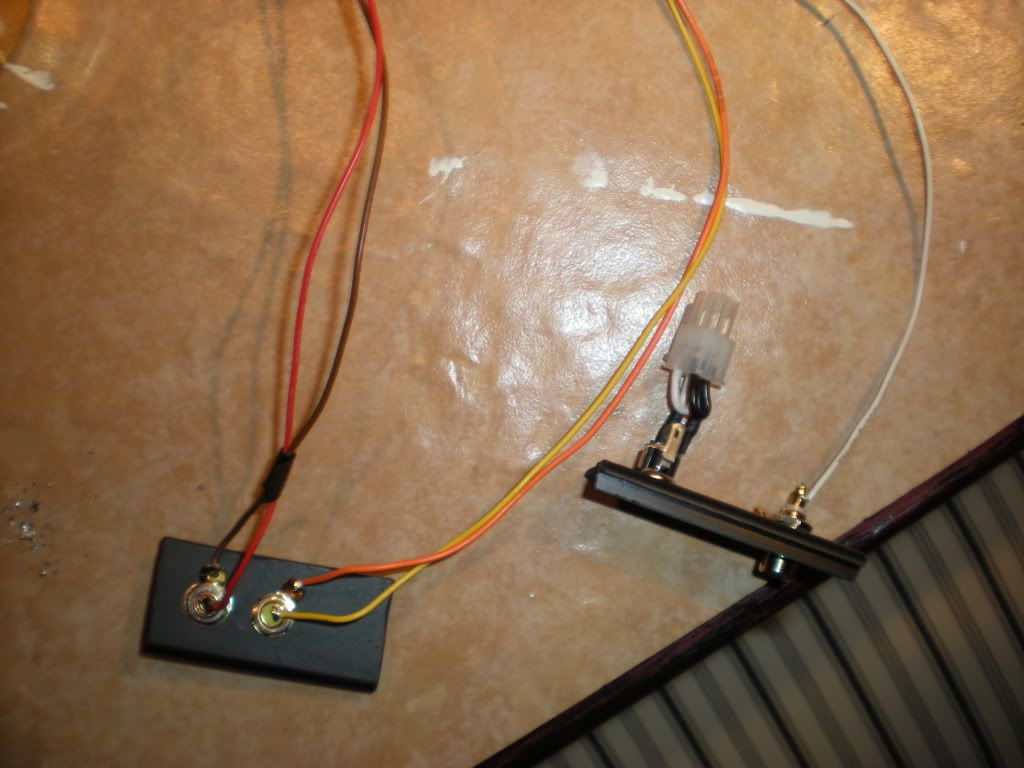
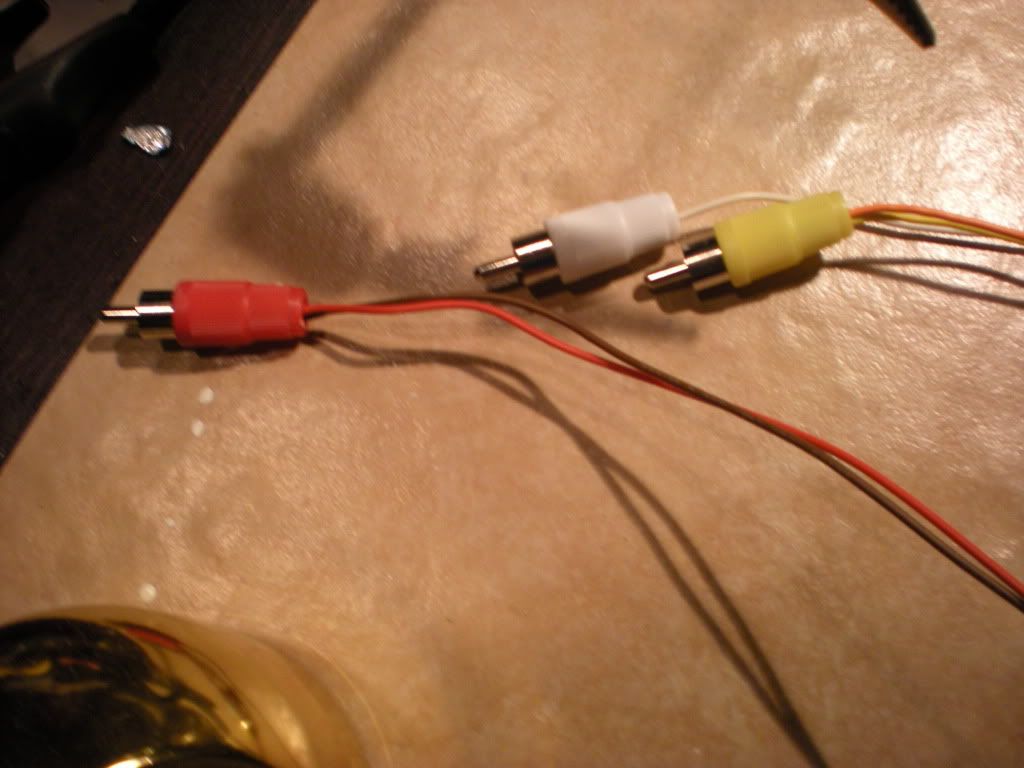
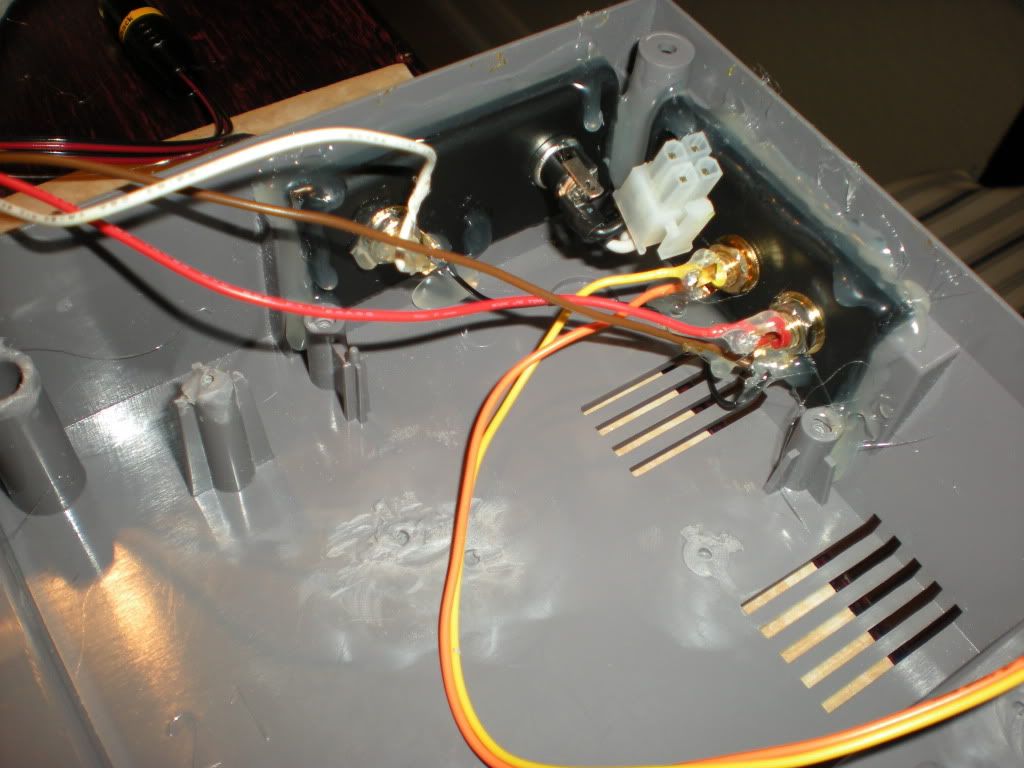
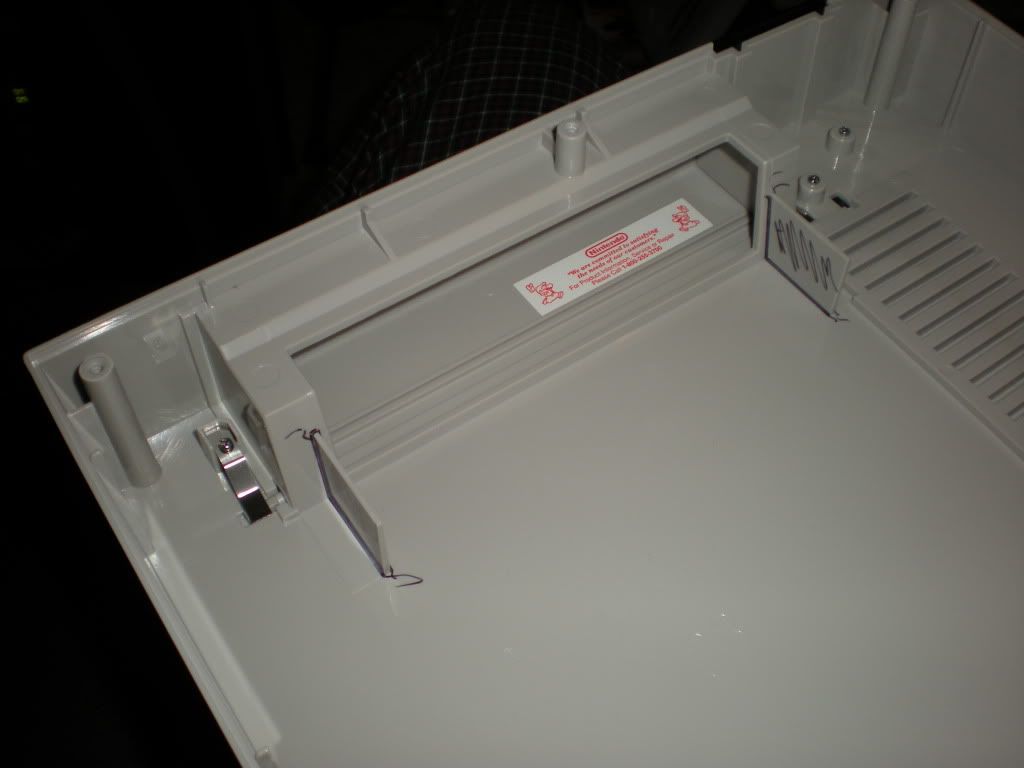
I bought a plastic project enclosure kit and used the backplate to chop up into pieces I could use to mount the AV connectors and power cable to the original NES ports on the right rear side and back left.
Pictures continue in next post. If i'm fast enough for our readers.